- What are the basic concepts for effective cannabis planting?
- Here we condense everything into 15 easy steps for any rookie grower to be successful in a short space of time.

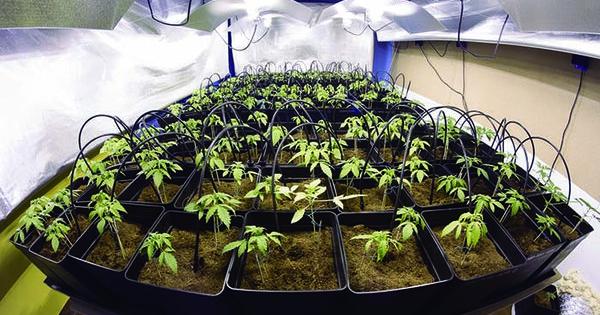
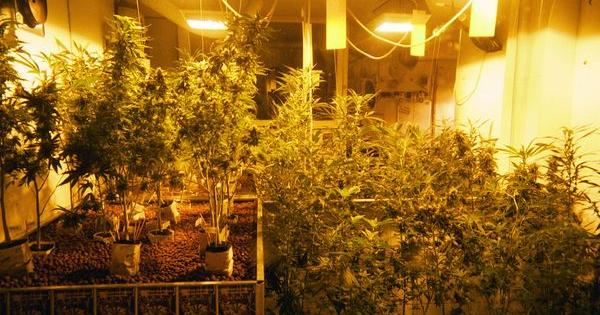
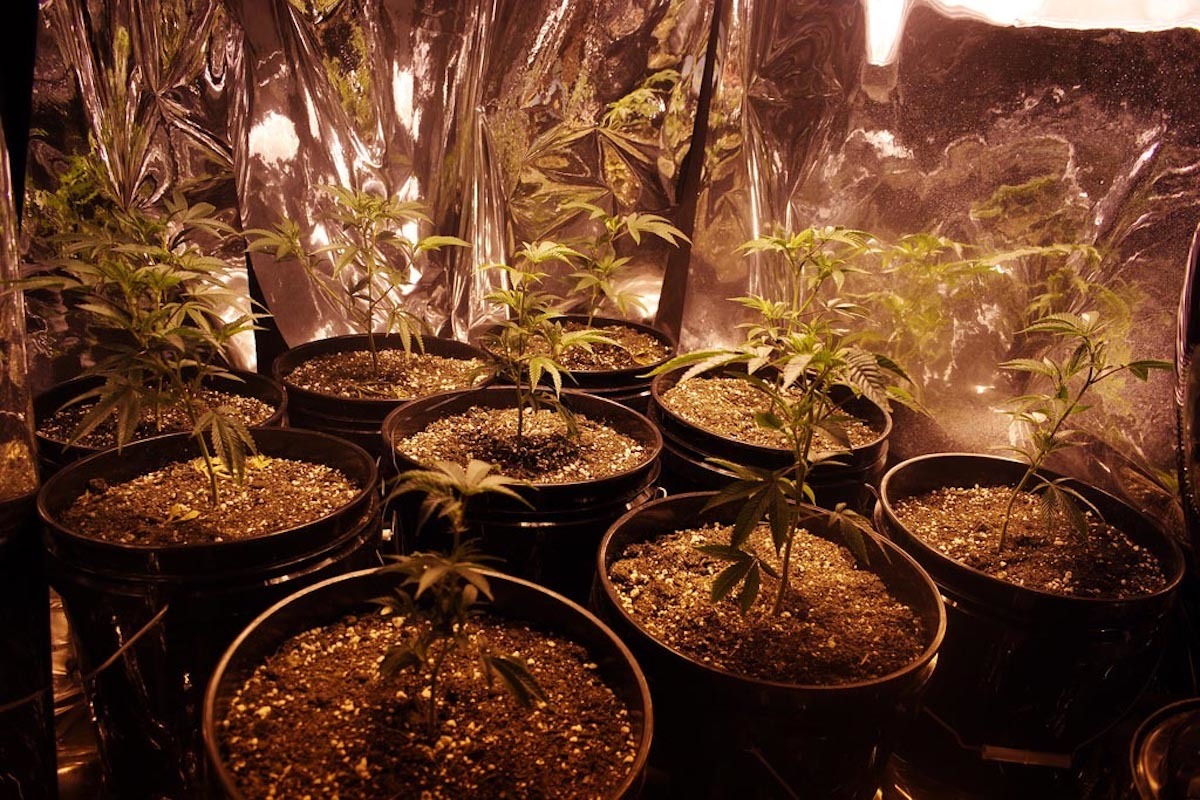
To get started with cannabis growing, the first thing you'll need is a location for your plants. This can be indoors, in a room or grow tent. Outdoors, you can grow your cannabis plants in a garden, courtyard or balcony. Or you can even use a hybrid system (e.g. a greenhouse). On this occasion, and in order to sum up all the variables of the growing process in the best way possible, we'll focus on indoor pot growing, i.e. growing without natural light.
Elements needed for cannabis growing
1- Therefore, the first thing you'll need is light. You can choose between HID (High-Intensity Discharge), HPS (High Pressure Sodium), or MH (Metal-Halide) lighting systems, with ballasts, lamps, or reflectors. If lamp heat can be an issue, you can opt for LED (Light-Emitting Diode) or CFL (Compact Fluorescent Lamp) systems. Make sure you choose the lighting method that best meets your needs and invest in a timer to control when the lights are turned on and off.
Related post
Types of Bulbs for Indoor Cannabis Cultivation
2- If your location doesn't have good ventilation, you'll also need an air extractor and an active carbon filter, not only to reduce heat and eliminate odours, but also to promote air movement and prevent air stagnation. You can use portable fans in your grow room or tent to create a soft artificial breeze. The size of the fans will depend on the size of your plants. If the plants are still young, best not to have the fans blowing directly on them as this could dehydrate them.

Related post
Air circulation for cannabis growing
3- A thermohygrometer is also essential so you can keep track of temperature and humidity levels in your grow. Temperature should range between 20 and 25ºC, whereas humidity should be between 45 and 55% during the growth phase, and between 35 and 45% in the flowering phase. During the last few weeks before harvesting this could even be 30% to prevent the appearance of fungi. As a general rule of thumb, the difference in temperature between light and darkness periods shouldn't exceed 10°C to avoid plant stress.

Related post
How to protect your cannabis plants from overheating
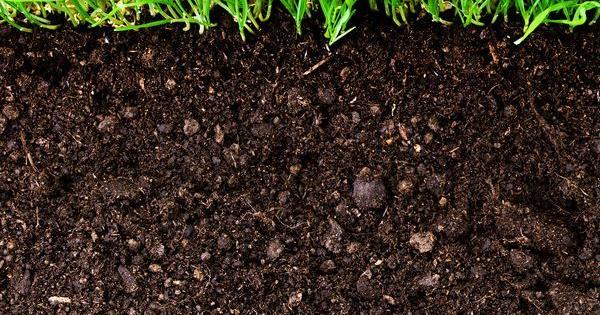
4- The substrate for your pots can be a simple mix of loose, aerated soil. This is much more user-friendly than hydroponic systems, so it's perfect for beginners. Pot size will determine the final size of your plants, as the larger the root system, the larger the cannabis plant. Place plates or trays under your pots to catch excess water. You'll also need nutrients to feed your plants as they grow.
Related post
How to choose the right growing medium for your cannabis plants
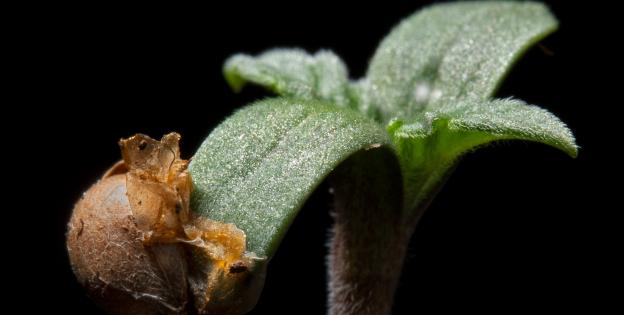
5- Needless to say that you'll need to purchase some cannabis seeds. As the grow space will be limited in this case, you must maximise every available inch. Choose Indica-dominant strains as they are more compact (for instance OG Kush, Critical +, or Purple Afghan Kush). If you choose Sativa-leaning varieties (like Super Silver Haze, Dinachem, or Moby Dick), you'll need to use some trellising to support them as these stretch considerably.
Related post
The 10 Best Cannabis Strains for Your Indoor Crops
How to grow cannabis: vegetative phase
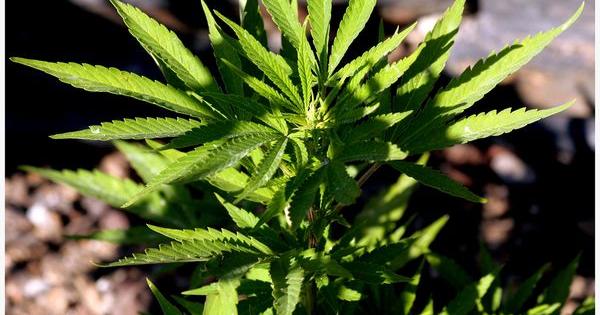
6- After germinating the seeds or rooting the clones, it's time for them to grow. Lower the reflector so it's closer to the plants and therefore they won't have to stretch so much to reach the light. Gradually raise your lighting system as they grow. Lamp distance from the plants will depend on light power and intensity. Set up your timer so light is on for 18 hours and off for 6. During this vegetative phase the plants will grow branches and leaves but not flowers, unless they are autoflowering varieties.
Related post
The most common mistakes when germinating cannabis seeds
7- Don't overfeed your plants under any circumstances. The first sign of overfed plants are burnt leaf tips. Being cautious here is a great virtue, as adding more nutrients if necessary is always easier than getting rid of them. The roots of the marijuana plant prefer a humid/dry cycle, so water them one day and let the soil dry up the following day. You can get a good idea of whether they need irrigation by lifting the pots off the ground and judging from their weight.

Related post
Fertilisers: what are the different types and what are they used for?
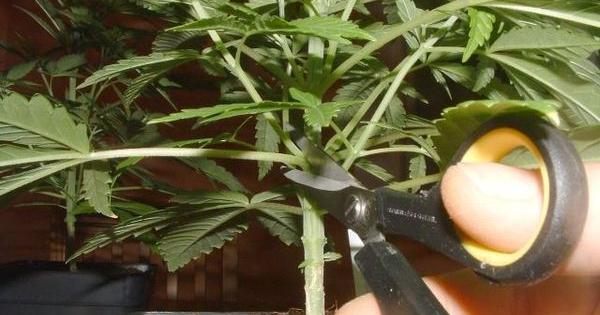
8- From the moment the plant starts to grow, after the first two weeks, you need to start trimming it to define its structure. Cut or pinch the tips of the branches just above the nodes from which two new shoots will emerge. If you keep doing this, your plants will become bushy, with many secondary shoots and little stretching of the apical meristem. This is the most effective way of achieving greater yields in reduced spaces. However, you need to take into account that the veg time will be longer.
Related post
Essential trimming techniques for your cannabis plants

How to grow cannabis: flowering period
9- When you're ready to start the flowering phase, change your timer to a 12/12 photoperiod (i.e. 12 hours on/12 hours off). Make sure you don't interrupt the darkness cycle at all: even very soft light can confuse the plant and lead to serious consequences.
Related post
How to Tell Whether a Cannabis Plant is Male, Female or a Hermaphrodite
10- You also need to change the feeding regime to one more suitable for the flowering period. Nutrient solutions are usually formulated for either the vegetative or the flowering phase. You always need to check the NPK (Nitrogen / Phosphorus / Potassium) ratio of your nutrient solution. For instance, a fertiliser with 4/2/3 NPK means that it contains more nitrogen so it's ideal for the growth phase. On the contrary, if the ratio is 2/3/4, this means that phosphorus and potassium are more abundant than nitrogen, making the solution more suitable for the flowering period.
Related post
All About the Nutrients to Grow Your Cannabis Plants
11- Depending on the flowering time specified by your seedbank, work out how much time your plants have left before the end of their flowering cycle. Start flushing their roots two weeks before the end to eliminate excess salts in order to obtain a higher-quality final product. If you're growing a strain with a 60-day flowering time, start rinsing your growing medium only with water around day 46.

Related post
How to flush your cannabis plants
Cannabis harvesting, drying and curing
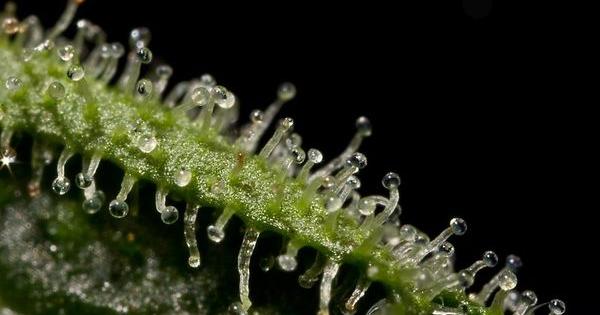
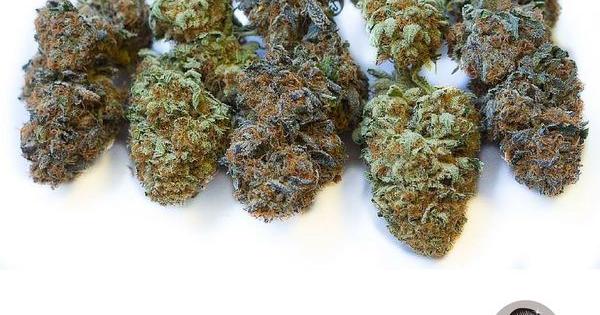
12- Knowing how and when to harvest is as essential as knowing how to grow. Use a magnifying glass to closely watch the trichomes, those tiny glandular stems with a head that look like little glass fungi. This is their first development phase so they're less potent. After a few weeks, they'll start turning milky and will look cloudy on the inside. This means that they're packed with THC and ready to produce an energetic high. After around another week, the trichomes will start turning amber, which means that THC is starting to decompose into CBN, so their effect will be more narcotic, producing couchlock more quickly. Most growers usually harvest when the trichomes have a 70-80% milky appearance and the rest are amber: this provides the perfect mix of both types of effects.
Related post
When Is the Best Time to Harvest Your Cannabis?
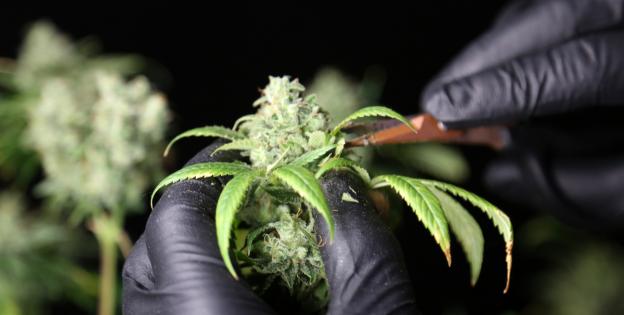
13- After harvesting, trim your buds and hang them upside down in a dark place for them to dry. You can now manicure the leaves (fresh manicuring) or wait until the branches have dried off (dry manicuring). The drying process should take approximately one to two weeks, depending on the temperature and moisture levels of your drying space. It's always best to slow down this process to guarantee that the weed doesn't keep that 'green' chlorophyll flavour. Use a humidifier if you think your buds are drying too quickly. And never leave a fan on directly over the buds, although you need to make sure that there's good air circulation to prevent mould and rotting.
Related post
Dry vs. wet trimming: Which is better?
14- Once you believe your buds are dry enough (the stems must break off rather than bend, and the flowers' exterior must feel dry to the touch), they should be ready for curing, a process by which they'll 'sweat off' the remaining moisture. Always use opaque jars and place them in a cool, dark place. Open the jars to check moisture levels and leave them open if condensation forms on the inside. Do this once or twice a day for the humid air to come out of the jar and dry air to go in. After three to four weeks of curing, your buds should have the perfect smell and flavour.
Related post
Drying and curing of fresh cannabis buds
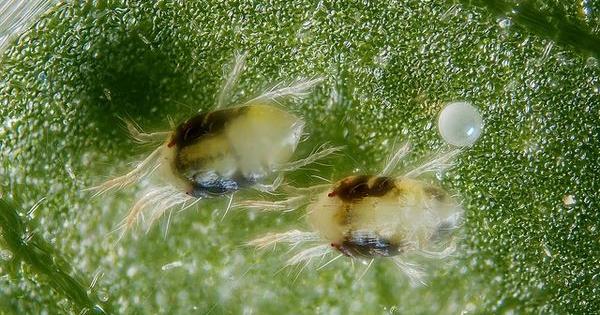
15- Finally, remember that, like in any garden, pests are also a constant worry when you're growing cannabis indoors. Anyone learning this art also needs to learn about pest control, i.e. understanding how to stop an infestation before it spreads. Prevention, observation and, above all, keeping your grow clean, can make all the difference between victory and defeat.
Comments from our readers
There are no comments yet. Would you like to be the first?
Leave a comment!Did you like this post?
Your opinion about our seeds is very important to us and can help other users a lot (your email address won't be made public).