
- In the northern hemisphere we are about to enter the home stretch of winter and, if you are planting cannabis outdoors, you should start with the preparations before spring planting time is here before you know it.
- Among the main tasks at hand are to look for the ideal site for planting, choose the most appropriate seeds for your goals, and prepare the soil to nourish and rid it of harmful agents.
- Doing so enough time in advance will allow you to make the right decisions calmly, taking into account all the factors in play. Shall we get started?
It is time to get down to work and prepare your outdoor cannabis crops. It may seem a bit early to you because until spring (in the northern hemisphere) most cannabis seeds will not be planted. However, having everything all set in advance will make it easier to produce strong and healthy plants.
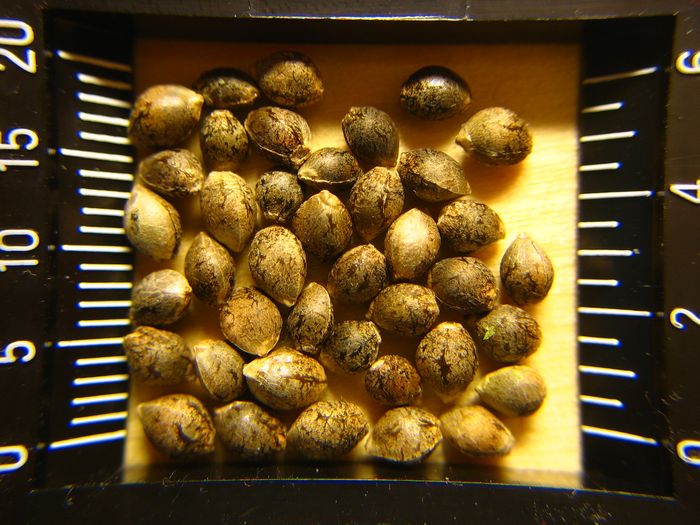
While experience is a grower's best watch, experts recommend planting after the first full moon in March, which this year falls on Sunday the 12th. This is a good red-letter day to mark on your calendar. Before then you should have chosen the best seeds, taking into account your preferences and the climate where they are going to grow; established the most suitable place for your crop, and prepared the substrate with the most fitting fertilisers so that your plants can really flourish. This is a job that cannot be done at the last minute, especially if you want to plant directly in the soil and get the most out of your outdoor crop.
Selecting the best seeds, according to your preferences
More than one key factor comes into play on this decision Firstly, you should ask yourself what your tastes and needs are. For example, if what you're looking for is, basically, to relax, it is best to choose Indica seeds, or a hybrid in which it is predominant. For example, strain California Hash Plant can be a good option, classified as an all-purpose cannabis seed, as it is able to withstand cold and moisture, and deliver quality crops even in the harshest climates. Any Kush variant will also yield good results, as its Afghan descent ensures a strong and hardy plant.
If, on the other hand, you want to be more active and are looking for a euphoric effect on the mental level, Sativa strains are those for you; for example, Critical Jack * or Santa Sativa. All these have high percentages of THC, the powerful psychoactive cannabinoid. If you want to enjoy a more sustainable effect, allowing you to enjoy cannabis without side effects or obstacles to your day-to-day life, we recommend our CBD-rich varieties.
The importance of climate when growing outdoors
In addition to your preferences, you must also consider the climate where your seeds will be grown. As we have already stated, many of the strains adapted to colder climates are Indica varieties from mountain climates in northern India, Pakistan and Nepal. However, if you are lucky enough to live in a Mediterranean climate, you'll have no major problems if you choose any kind of Sativa. With good temperatures and few moisture problems, a long list of strains will grow into strong and healthy plants.
Still, you should study the climatic variations in your area throughout the plant's life cycle. Even if you have a hot and sunny summer, the autumn can be stormy and rainy, increasing the chances that your plant will suffer from mould or fungus at the peak of its flowering time, ruining months of work. Err on the side of caution rather than being too optimistic about the weather, as the price to pay is very high for any error in judgment when it comes to rain.
If you're a novice in this field you should opt for an auto-flowering strain, highly recommended for outdoor growing thanks to their many advantages: they can be planted any time of year, their growth does not depend on a special photoperiod, and they normally do not require as many transplants. In addition, they are plants that develop very quickly, with life cycles of just 8 to 12 weeks.
Auto-flowering plants are the perfect choice for beginners because, moreover, they don't require large amounts of fertiliser to grow. They require little care and handle weather changes very well, a plus if one is not entire familiar with the weather, or it is the first time he has planted in an area. Among the most resilient in this regard are Blue Cheese Autoflowering or Bubba Kush Autoflowering.
Where to grow your cannabis
First of all, you must ask yourself if you are going to grow in pots, growing bags, or directly in the soil. If you choose the latter you will need to remember that, in the event of any problems, the crop may not be relocated as easily as it would if you had used pots. Therefore it is essential that, if you are going to plant directly in the soil, you choose where you are going to do so wisely.
For this you must select an area that is not exposed to prying eyes that may cause problems. Cannabis plants give off a characteristic scent, and if you choose to plant several their aroma can reach a fairly wide perimeter. So, if your crop is going to be located in an area near other homes, or transited areas, a good choice is to use other plants to camouflage the smell from your cannabis. Rosemary, lavender and mint can be excellent options to infuse your growing area with different flavours without raising any suspicions.
If you prefer to plant your crop in a more secluded area, be aware that potential thieves could strike your precious garden. Therefore, it is advisable to plant your cannabis in a place that can be frequently monitored.
You'll also need an area that is both sunny and sheltered from the wind. Cannabis plants need light for much of the day, and are quite sensitive to strong gusts of air. Thus, choosing a place in an open field or on a hillside can guarantee sunshine, but will not be the best choice to avoid high winds. Therefore, think of all these factors before selecting the most appropriate area.
In the northern hemisphere, the orientation with the most hours of sunshine for your crop will be southward or southeastward, as the parable traced by the sun will be from the east to west, with a southward inclination, which will be less pronounced as the summer approaches. If you are in the southern hemisphere, on the other hand, the difference is that the parable the sun traces shifts towards the north. Thus, the best orientation for your crop will be towards the north or northeast.

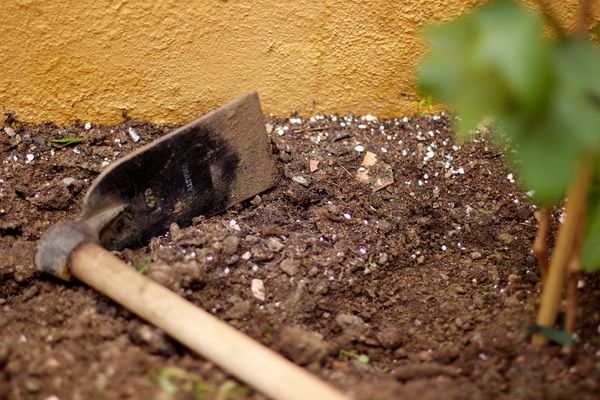
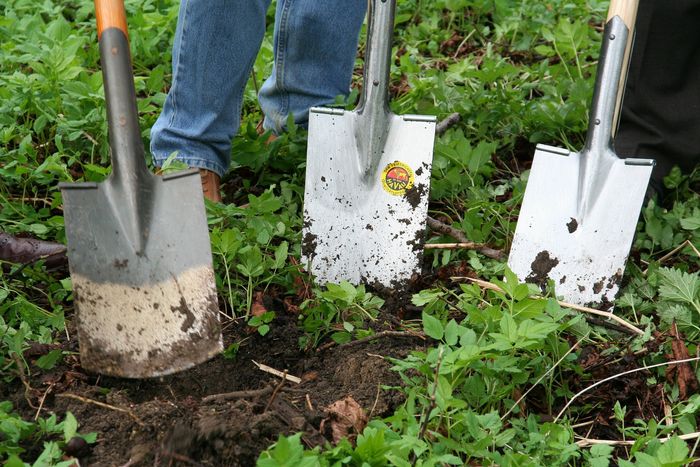
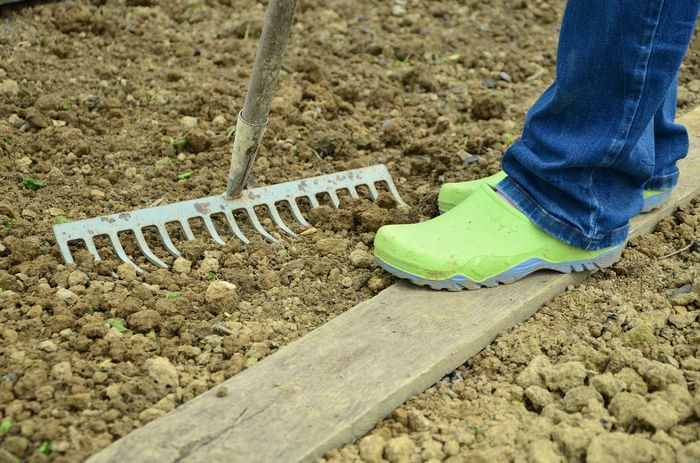
Once you have chosen your growing site you should start by clearing out any weeds, especially if you are going to plant directly in the soil. Having a site free from weeds and other plants that could harm your cannabis will be essential if you are planting outdoors. This may take you longer than expected, so it is a good idea to start as soon as possible so that you can take it easy and not be in a rush.
Keys to recognise and select the most suitable soil
Many expert growers point out that a successful harvest always begins with the quality of the substrate. If your crop will be in pots or growing bags, you'll have it easy, as you only have to buy a good substrate at a store, in accordance with the type of seed you are going to plant. If you are going to grow directly in the soil, however, you will need to consider several issues.
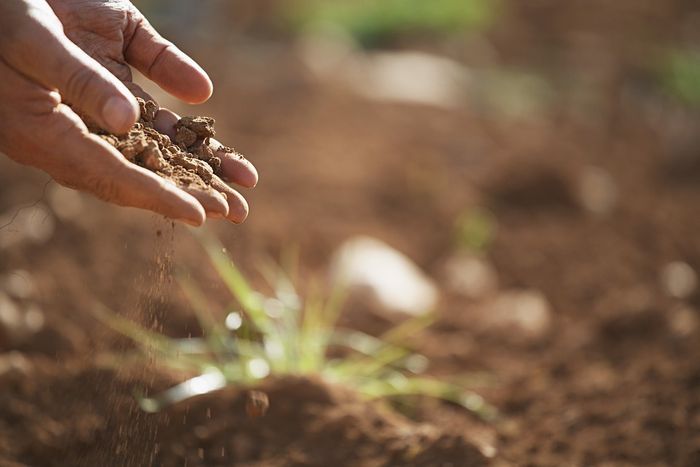
First, it is important to know that cannabis grows best in light, loamy soils, which drain water well while preserving the ideal degree of humidity for cannabis plants. Loamy soils are composed of sand, silt and clay. If your soil will not contain this ideal combination, don't worry, because you can easily identify it: in very sandy soils water commonly drains too fast, while in soils with high clay content liquids stagnate, forming puddles. Once you know what soil type you are dealing with, you can mitigate its shortcomings by adding any of the elements (sand, silt or clay) that are lacking.
The importance of the substrate's pH
You will also need to know the soil's pH. To do this you can conduct a simple home test with pH strips and distilled water, which is pH-neutral. You can find both products at pharmacies, drugstores or specialised online stores.
To acquire this information you must carefully choose the soil to be analysed. If you have a plot of land measuring, for example, 10 square meters, divide it into 10 equal parts, and extract a small, equal sample from each. Once collected, mix them evenly and place them into a receptacle. Then pour the distilled water into the mixture. The amounts will have to be equal; if you add 100 grams of substrate, you must also pour 100 grams of distilled water (100 millilitres in the case of water). Then stir the mixture into a paste, and let it stand for 1 to 2 hours. Then all that is left is to introduce the strip and observe the colour it turns.
On the following chart you can see the different colours and the corresponding figures:

Ideally, cannabis plants should be grown in substrate with a slightly acidic pH, between 5.5 and 6.5 (the strip should have a slightly pinkish hue). If your strip is of an intense blue colour, this indicates that the pH is too alkaline, so you'll have to reduce it with an acidic compound, such as sulphur. If the soil is too acidic, on the other hand, (the strip takes on a deep red colour), you'll want to use agricultural lime (calcium carbonate) to decrease it slightly.
By nature sandy substrates are more acidic, and clay-rich substrates are more alkaline, while forest floors usually feature pH levels ideal for growing cannabis. Still, it is important to run the test to see what kind of soil you are dealing with, and correct its excesses or defects.
How to fight unwanted organisms in natural soil
Natural soil tends to contain some elements that are undesirable for growing cannabis plants. We are mainly referring to seeds of weeds and pathogenic organisms that can cause disease. To remove them, some growers submit their soil to a sterilisation process. It should be borne in mind that during this process beneficial organisms also die, so it is recommended that this be done before nourishing the soil.
The sterilisation process can be carried out using chemical methods. However, it is best to do so with natural procedures and alternatives to spraying. In this case, the most widely used for large outdoor areas is solarisation. Before beginning it is important to have plenty of time, as it will take 5 or 6 weeks to complete it.
For solarisation one must begin by tilling the soil thoroughly, and opening up furrows. Once ploughed the ground should be covered with a thin, transparent plastic to warm it. Thus, thanks to the effect of the sun, the temperatures down there will climb to at least 50° C, which ensures the elimination of the most harmful bacteria. The process will be complete after a period of between 45 and 60 days, although it is recommended to check it regularly and keep the land ploughed each week.
Another option for smaller crops, with one or two pots, is to directly heat the soil. You can use a pressure cooker at home to reach temperatures up to 80° C for 30 minutes, thereby eradicating the most harmful organisms and obtaining a substrate in optimal condition for your plantation.
The use of fertilisers to ensure greater success
The fertilisers most commonly used by cannabis growers are worm castings, bat guano, and coconut fibre, although you can also use any other natural or synthetic fertiliser. The aim is to nurture the substrate in the best way possible, so that when the time comes to plant the seeds, they grow strong and healthy.
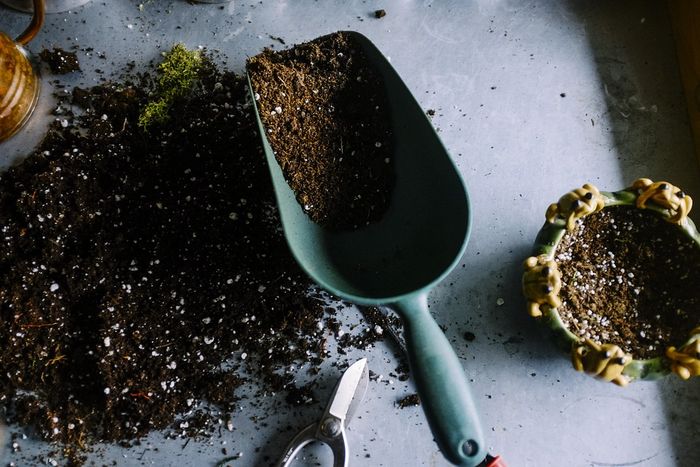
If you want to take full advantage of the nutrients, it is advisable to choose the place where you are going to plant your seeds, dig to extract the soil, and mix it with the compost. Once the substrate is ready, put it back and cover it with black plastic. This will prevent weeds and mud, in the event of rain, while preserving the quality of the enriched substrate. The same process can be used on pots or growing bags, as long as you use soil that has not been previously enriched.
Other beneficial preparation tasks, depending on your circumstances
Each crop has very specific characteristics; therefore, we have some other tips for you, depending on the type of crop you are growing outdoors.
1. Plan on irrigation for guerrilla crops
If you opt for guerrilla growing (planting your crop in a secluded spot in the middle of nature), the main problem you will run into is water supply. Therefore, it is best to choose a location near a river, fountain, or some other nearby water source. This allows you to use a manual or automatic pump to keep them well watered.
If this is not possible, a good option to have water on hand without expensive equipment is to place containers to collect rain, and store them nearby until you need them. If 10 days go by without rain you should visit your crop and water your plants, but be careful not to saturate the roots.
2. Shield your plants from the wind
As already mentioned, wind is also a great threat to your plants. In your garden you can place plastic panels or wooden slats for protection from the wind, but this will tend to attract attention. For greater discretion you will want to place your crop in areas with natural protection against the wind.
For example, you can place it next to a hedge or a large shrub. Palm trees form good protective barriers, along with conifers or other trees, such as poplars, alders and pines. Be careful, however, that these protective plants do not block out the sun. Besides the natural screens created by trees, you can also use walls or large stones anchored in the soil as windbreaks.
3. Protect your crop from wild animals
Planting in a garden, on a plot, or even in the field also entails the risks posed by indigenous fauna. When the plants are small they may end up being eaten by animals in the area, including birds, so it is best to subtly fence the site. You can use chicken wire or a net you make yourself tied to sticks. In any case, you must move it as your crop matures, so as not to restrict its growth. Watch for tracks around where you want to place your crop to give you clues regarding the animals that may be found in the area.
4. Prevent pests with biological resources
Being prepared to deal with possible diseases or pests that may affect your plants is also critical. And if you can deal with them naturally, all the better. Therefore, it is ideal if you can place your crop in an area where you have seen ladybugs, as this insect acts as a protector of cannabis, and fights the most common pests that threaten it, such as aphids and cochineals. The same goes for parasitic wasps, although they can be a bit more annoying. Another option is to release them yourself after acquiring them at a nursery or specialty store.
5. Set up and repair your outdoor greenhouse
If you already have a greenhouse from previous years it will be necessary to set it up for the upcoming season. Fixing the roof, removing dirt from inside, and cleaning it are some of the tasks that you can perform in advance. If you are someone who prefers to build your own greenhouse, the work ahead of you will be no less. The choice of material covering the greenhouse will be very important. You can select transparent plastic, rigid plastic sheets, or glass. The easiest to find and handle is transparent plastic, while glass will be the most expensive, both to buy and to assemble. In any case, there are also outdoor greenhouses that are easy to assemble with just some basic knowledge and by following the manufacturer's instructions. So, this decision depends on the grower's skill level and preferences.
Now that you know how to start preparing for your outdoor crop, now is a good time to get down to work before long-awaited spring is here and it is time to plant. Planning ahead is a key part of your crop's success.
Comments from our readers
There are no comments yet. Would you like to be the first?
Leave a comment!Did you like this post?
Your opinion about our seeds is very important to us and can help other users a lot (your email address won't be made public).