
- Worm castings are one of the most frequently used biological fertilisers in organic marijuana growing.
- Although nowadays you can buy worm castings in any growshop or garden centre, making your own is easier than you may think.
- This way you'll not only be saving money but you’ll also be recycling your own organic kitchen waste. Keep reading for a step by step guide on how to make worm castings.
As we already explained in a previous post, worm castings are one of the best organic fertilisers ever. There are several reasons for this: on the one hand, this fertiliser comes from a biological source, so your buds will smell and taste better and you'll be avoiding toxic substances when you consume your cannabis. On the other hand, it provides a great and diverse range of nutrients without the danger of burning your plants' roots, so you can add big amounts to your substrate without worry.
Related post
What is organic bokashi and why is it beneficial to cannabis growing?
Here's a step-by-step guide on how to make your own worm castings so your plants can enjoy all their benefits:
How to make vermicompost?
Step 1 – Get a vermicomposter
If you're good at making things, you can easily make a vermicomposter by yourself. Otherwise you can purchase one in any garden centre. They're easy to find and come in different materials and prices.
Step 2 – Choose the right location
The best place for your vermicomposter is a shaded spot protected from the wind and the rain. If you have a garden, try to place it under a tree. For city dwellers with a terrace, the shade of an awning can work a treat.
Step 3 – Prepare the 'bed'
The first layer you must place in your vermicomposter is not a composting matter layer but rather a 'bed' of peat or coco coir (down to personal choice). The material you choose is not as important as long as you dampen it in advance. This layer must be about three fingers deep.
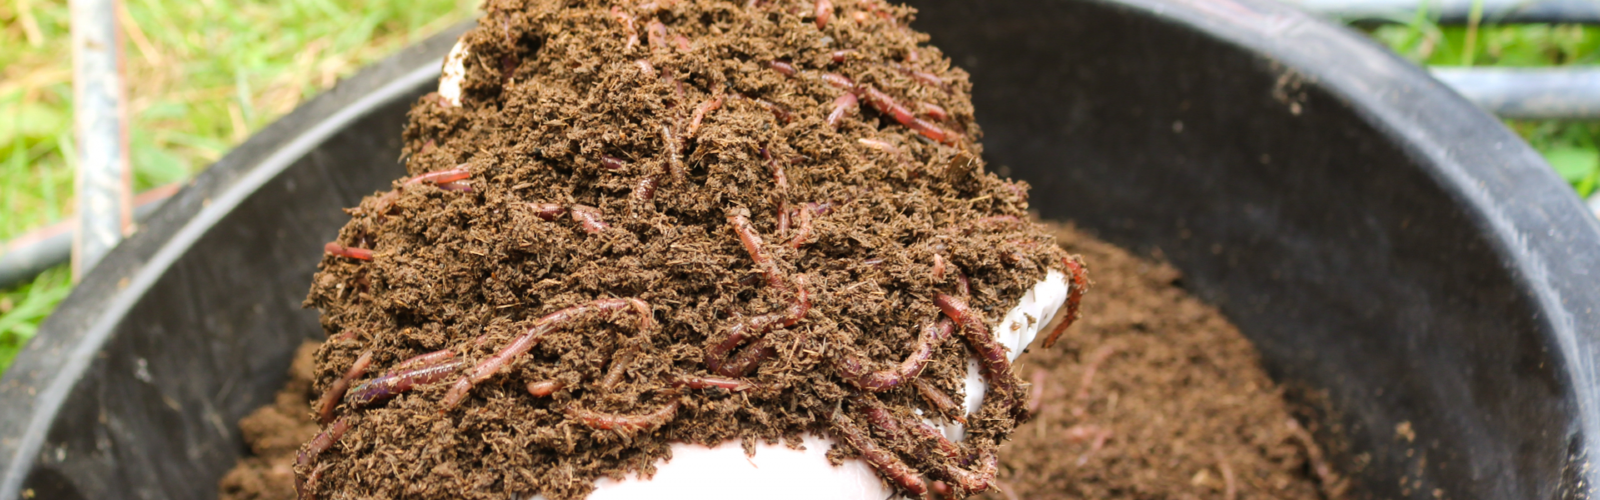
Step 4 – Add the worms
The most frequently used worms are a type of Californian redworms called Eisenia foetida. This species is super voracious so they produce a greater amount of castings in less time. Place the worms on top of the first layer. Cover the container and let the worms get used to their new home for at least one day before adding the composting matter.
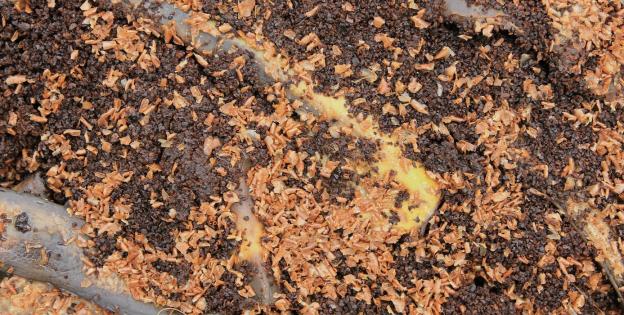
Step 5 – Add the organic matter
One or two days after you've placed the worms in your vermicomposter, add the vegetable scraps that will feed the worms. Add them little by little, increasing the amount as the worm population grows. Every time you add organic matter, cover it with a layer of the same material used to make the initial bed. Should everything work well, the bottom storage tray should start collecting the liquid secreted by the worms after one week. Here's a list of the kitchen waste that is, or is not, suitable for composting:
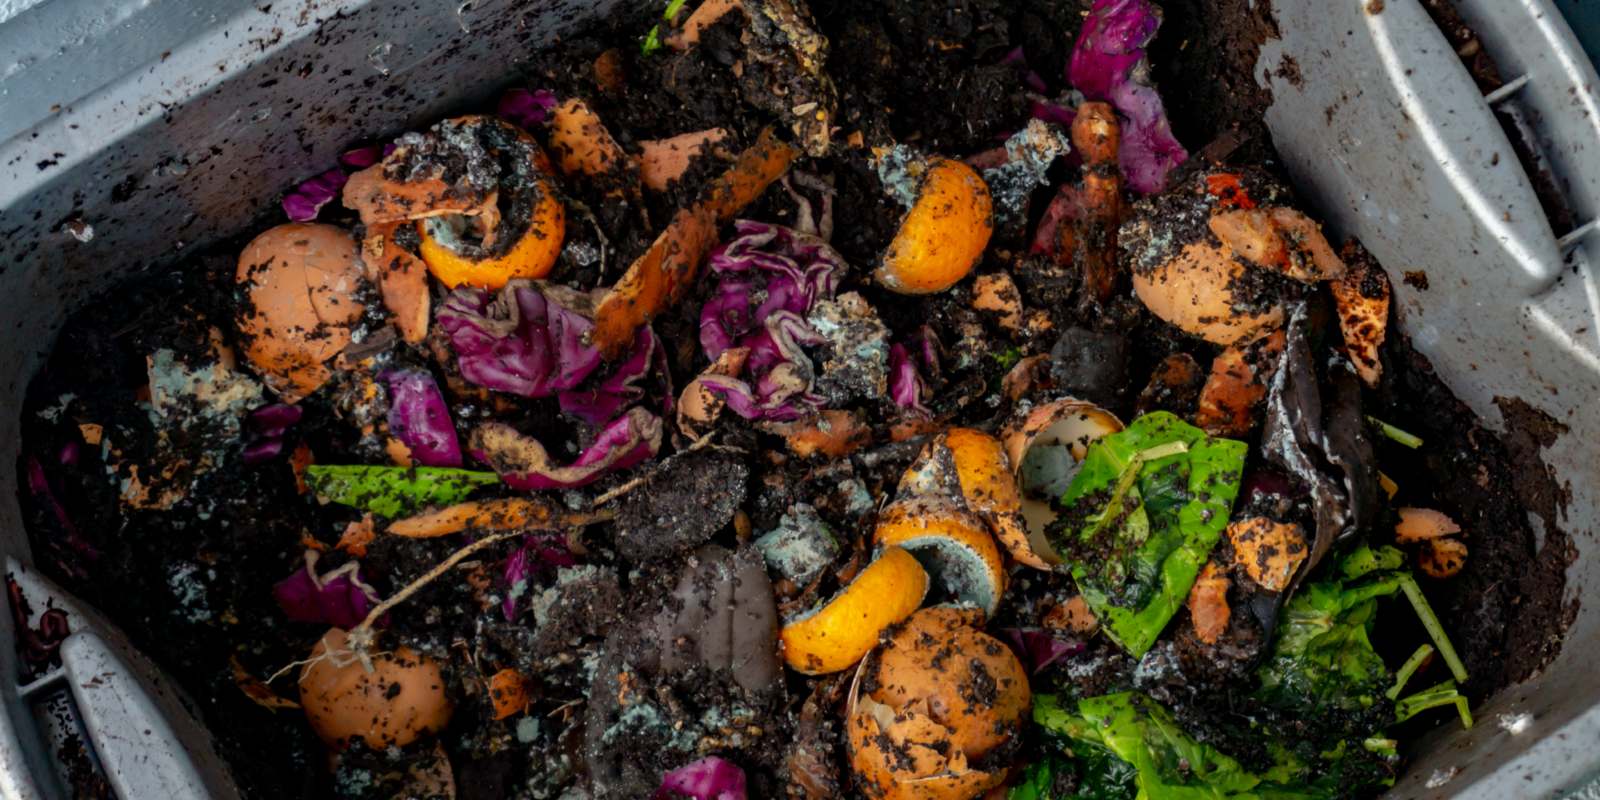
Suitable waste:
- Vegetable and fruit scraps
- Root vegetable peels
- Dry leaves
- Inkless paper (paper napkins)
- Coffee grounds
- Eggshells
Unsuitable waste:
- Meat
- Fish
- Cooked or oily food
Step 6 – Let the worms do their job for a few weeks
As the days go by the worms will start feeding on the organic matter and will start defecating. It is precisely those faeces that will start falling into the composter storage tray. That is your fertiliser: a dark, fresh smelling matter similar to soil. The time that the worms take to produce the castings will depend on how many of them there are. This normally takes between 6 and 8 weeks.
Step 7 – Harvest your castings
The worm castings will fall into the storage tray where they can be collected at the final stage of the process. You will know when the time has come when the matter looks like homogenous soil, i.e. you won't be able to distinguish the different elements that you initially put in the vermicomposter. If you find that the compost has too many worms, put it in the sun. As the worms hate direct sunlight, they will escape to the bottom of the tray and you'll be able to collect your castings easily. Don't worry if there are still some worms left in the compost; they won't damage your plants.
Related post
Compost tea: organic feeding and protection for your cannabis plants
Points to keep in mind...
Although you will need to make an initial investment to buy your worms, these reproduce really quickly. If you feed them well, their population will increase considerably in a month's time, which will translate into a larger amount of castings.
If you notice that your vermicomposter gives off a foul smell, lightly stir the organic matter.
Also keep an eye for insects in the container. If you find ants, that's a sign that the organic matter has become too dry, so you'll need to moisten it. To prevent the appearance of fruit flies, cover the organic matter with a layer of peat or coco coir every time you feed the worms.
Precautions
Watch humidity levels from time to time: if the compost gets too dry, lightly dampen it.
Top tip
Adding broken eggshells every now and then will work a treat for correcting the acidity level of your castings.
Comments from our readers
There are no comments yet. Would you like to be the first?
Leave a comment!Did you like this post?
Your opinion about our seeds is very important to us and can help other users a lot (your email address won't be made public).