
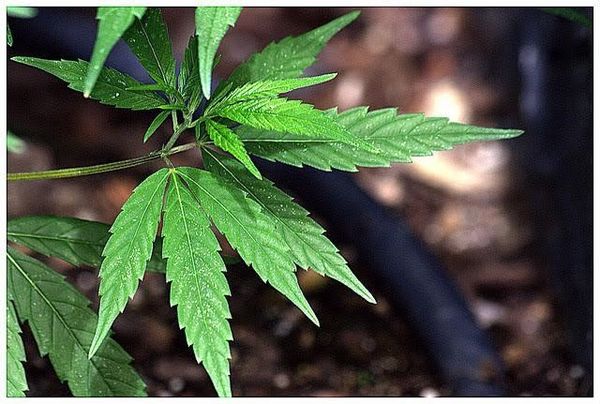
- Cannabis plants harbour extraordinary secrets.
- You may not have heard of it, but regeneration after harvesting is an increasingly common technique that saves growers both time and space, and preserves good marijuana genetics.
- Below we explain, step by step, how to employ this method in order to give your plants second lives.
Wild plants called "annuals" generally germinate, grow, flower and die within one year, in response to seasonal changes. The following year new plants grow thanks to the seeds produced by the previous generation. Such is the cycle of life. Thanks to the regeneration technique it is possible to rejuvenate a plant after its first flowering and tinker with it so that it produces up to two harvests in the same year.
The advantages of regeneration (if successful) are manifold. First and most obvious is the enormous amount of time the grower is saved: through this process we are talking about a "2 x1 deal," because you can use the same plant to produce two different crops. However, it should be noted that the second harvest will be of lower quality than the first, because the plant, although it has a larger root system, will not have much time to grow.
This is also an alternative capable of preserving the plant's genetic when a grower is really delighted with it. In fact, in some cases it can even improve and increase the potency and flavour of successive crops. According to some reports the key is in the pollination, though this has not been definitively demonstrated.
One can also obtain cuttings from this stage of revegetation in order increase his number of viable plants. He can then make his plants grow again, return them to the flowering cycle, and obtain new crops. This is something very advantageous for medical growers who only need one or two plants of constant quality; and also for the recreational grower who faces restrictions with regards to the number of plants that he can legally have.
Is it possible to regenerate outdoors? What about autoflowering plants?
Autoflowering seeds are no exception when it comes to the regeneration process, although considerable controversy surrounds this point, as it is not clear whether plants of this type can flourish again without difficulties.
But regeneration is also possible outdoors. Usually this option is feasible only in those areas with long growing cycles, or with little seasonal variation, such as those along the equator. For example, there is talk of growers in subtropical areas of Hawaii who have kept plants active for years, producing several crops.
And long-lasting genetics have been documented on Reunión Island (an idyllic African isle that "belongs" to the French state). There grows, amongst reefs and volcanoes, an island "landrace" that can yield two and even three consecutive harvests. They call it the "perpetual grass of Reunión," and with its long branches and fine leaves, it grows in the jungle areas of this island close to Mauritania.
After the trip we go into the "operating room"
To initiate the regeneration process the first step is to prune your plant. Start by sterilising the knife or scissors that you are going to use for cutting. Unlike with a traditional harvest, this technique requires a really clean and healthy cut. A solution of 10% bleach mixed in water is ideal for removing any bacteria from the instrument. After soaking the utensils it is important that they be well dried before starting the operation.
The leaves should also be very clean. Dip a cloth in some medical alcohol (if unavailable, an alcoholic drink will also do the trick) and gently rub the plant to prevent damaging or breaking it.
Once you have disinfected your tools and your plants, the next step is to decide where you are going to make the cut. As you are dealing with a mature cannabis plant, it is important to remove all the buds, leaves and stems from the upper third of the plant before you start. The central third, however, should not be pruned at random, and most of its big leaves must be left in place.
From the lower third you must remove the largest germinal flowers, but be careful to leave the smaller buds and all the leaves intact. Be careful not to overprune: many of these small shoots are not important in terms of dry weight, but they are vital to stimulating the plant's regeneration. Therefore, you will want to save all the sprouts you can on the lower parts of the strain.
The cut should be made between the lower and central thirds, and measure about two centimetres or less. The operation must be carried out with the knife wielded horizontally and in a straight line, to minimise the size of the cut. Avoid cutting at an angle, as this approach is more apt for the process of cloning, and this is not what we are after. With this method the goal is for the cutting area to be as small as possible, thereby preventing trauma to the plant.
Once the fresh branches cut from the top are hung to start the drying process, the regeneration work for the rest of the plant can begin. Imagine you are a doctor in the emergency room of a hospital: after cutting, the patient suffers stress and needs urgent attention. You have to follow a series of steps, and time is of the essence; during this period you need to stabilise the plant's vascular system.
This plant system is roughly analogous to the cardiovascular system of an animal. However, unlike the arteries, veins and the hearts of animals, the plants' parts are connected by means of lignified tissues (xylem), a fabric that transports water, minerals and other nutrients from one part to another, from the roots to the leaves.
Step 1. Cover the wound
At this point, consider a simple strip of tape as a kind of cast for your plant. The aim of this operation is to minimise the stress done to the strain, simply by covering the cut with this material. With this step also you can also prevent the fibres of the stem from being infected by dirt or exposure to light and air. If you have managed to cover the wound well, congratulations: the emergency is over. Your patient is now calm, but needs nutrients and light to recover.
Step 2. Nurturing the plant
A good regeneration technique also calls for the roots of the plant to be previously washed, a few weeks earlier. This washing involves pouring a considerable amount of water in the growing pot to eliminate the remains of nutrients that can contaminate your grass's final results. It is recommended that you carry out this process quite frequently, but you should not drown your plant either. The aim is to prepare the roots for when they can receive nutrients again.
With your plant all prepared, the next step is to water for the first time after the cutting. Remember that the plant is still weak, so the best option is to fill your can with lukewarm water, avoiding extreme cold. One must also be careful with the amount of water he gives his plant. Remember that much of the crop has been stripped, and doses should be reduced accordingly. Finally, it is important to calibrate the pH, which, as a rule of thumb, should be between 5.8 and 6.8.
As for the nutrients, it is important to prepare a mixture containing nitrogen, a component essential for regeneration. The solution should be mild and also contain small amounts of phosphorus, potassium, calcium, sulphur, iron and magnesium. Do not get overwhelmed by all these ingredients: there are products that are pre-mixed and can serve as a good substitute to prevent formulation errors.
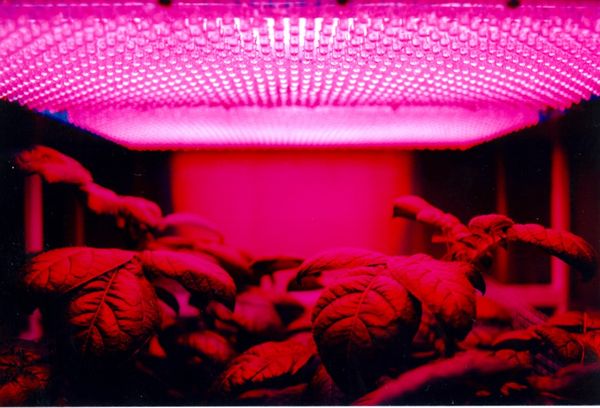
Step 3. Lighting requirements
Before starting the regeneration process your first crop probably received a 12/12 light cycle. That is, 12 hours of light and 12 of darkness, so that the plant entered its flowering phase. This method, however, calls for light appropriate for plant growth: over 12 hours of light, 18 if possible, or even continuous light, 24 hours a day. If you are planting outdoors you can use natural sunlight during the summer, when the days are longer, to help the plant to regrow naturally.
The intensity of the light is also important. The aim of the grower is to trigger photosynthesis immediately, which calls for a more intense light source. Be careful not to burn the plant, although it already has a developed root system and should be ready to devour plenty of light.
Now that your plant has water, nutrients and light, you will need to let her rest. She has been through a tough process, and it is best not to smother her with too much attention, or move her around, disturbing her with changes in light, so that she can start producing leaves.
Step 4. Verification of results
In about a week, if the steps were carried out properly, the first signs of successful regeneration should be observed. These include the development of leaves on the crowns of the shoots, or a pair of calyces pushing the stems upwards. These first leaves do not even resemble typical cannabis leaves (for example, they do not have jagged edges, as they are softer in shape). These are emergency leaves that the regenerated plant deploys as if they were solar panels. The typical ornamentation of a cannabis plant can wait until later.
If there is no further development, be patient and wait another week to 14 days. There are some varieties that need more time. If after the whole process you see no signs of regeneration, bad news: it is possible that the plant did not survive, as it lacked the strength to revive.
As you can see, cannabis regeneration is not an exact science, and depends on many variables. But with these tricks, and a green thumb, you're ready to get started with this process. Once you try it you're bound to get the hang of it and to enjoy its benefits.
Comments from our readers
There are no comments yet. Would you like to be the first?
Leave a comment!Did you like this post?
Your opinion about our seeds is very important to us and can help other users a lot (your email address won't be made public).