
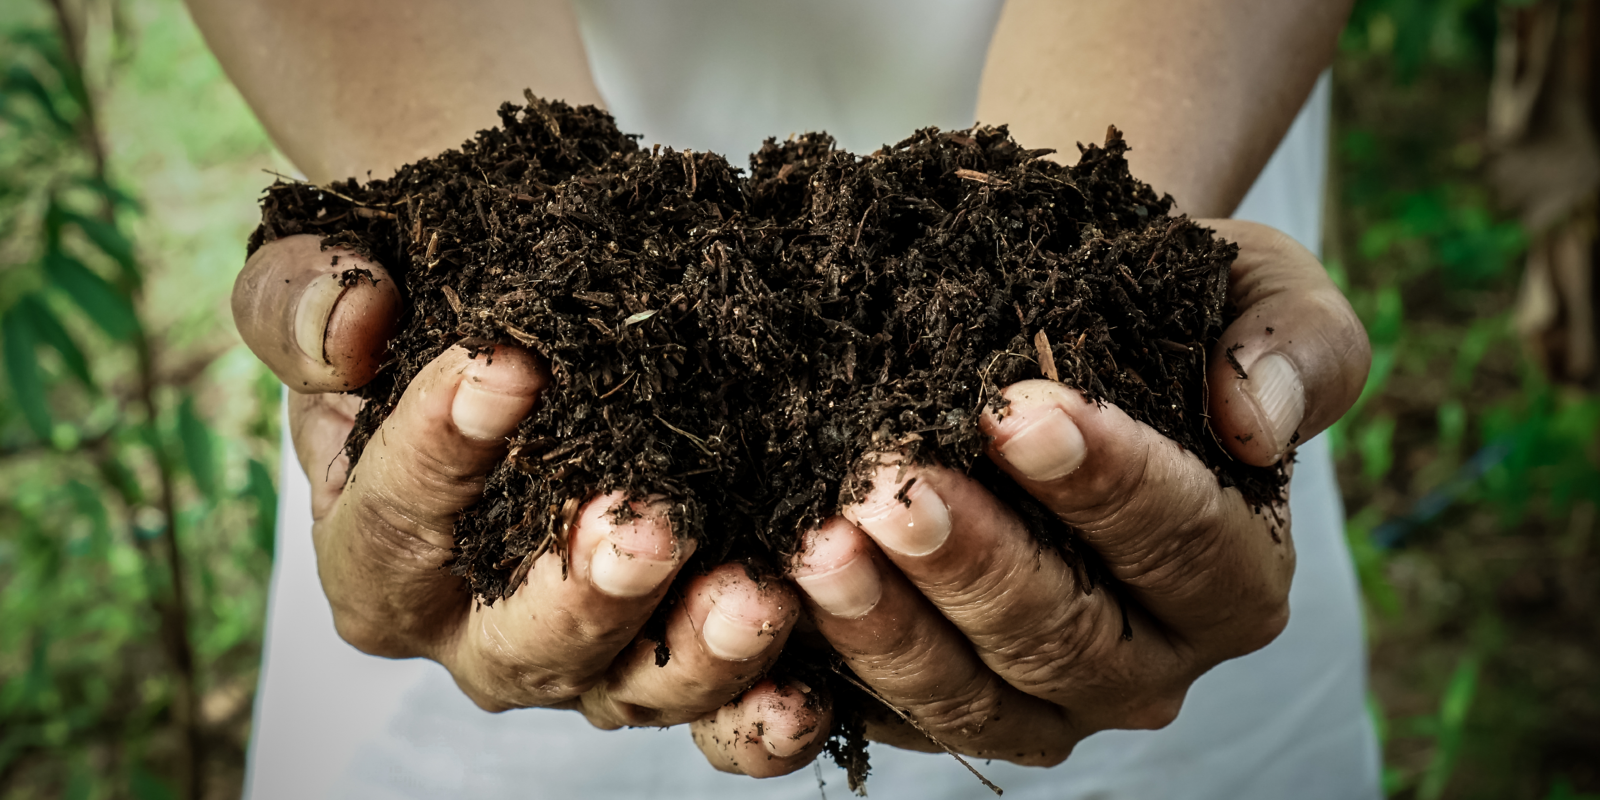
- As explained in previous posts, super soil is a type of substrate rich in all the components that cannabis plants need throughout their life cycle.
- It is one of the most rounded organic products you can use for the natural and biological nutrition of your plants, and it gives you full control over the origin of the fertilisers that you provide your plants with.
- In this post we explain step by step how to make your own super soil in a simple and inexpensive way.
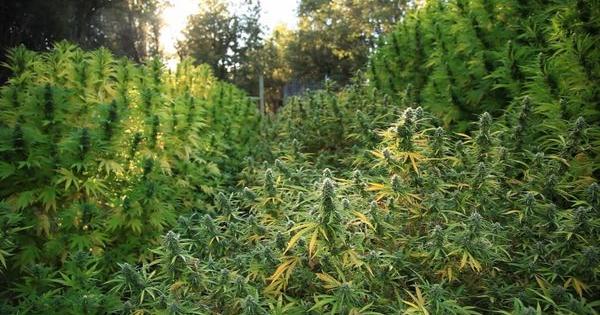
Nowadays there is an increasing number of growers who are aware that organic marijuana produces higher-quality buds, which means bigger yields with greater terpene expression and better flavour. Not only does this mean better results at harvest time but also a more respectful way of growing - let's not forget that the use of chemical fertilisers and pesticides is harmful to both cannabis plants and users, as well as to the environment. This is why we've decided to give you this simple guide so that you can make one of the most potent substrates in the convenience of your own home.
Some might think that making super soil is difficult, but if you follow our guidelines you'll realise this couldn't be further from the truth, and you'll see that the benefits of making your own super soil definitely outweigh the time you need to invest in the process.
How to prepare super soil step by step:
Step 1
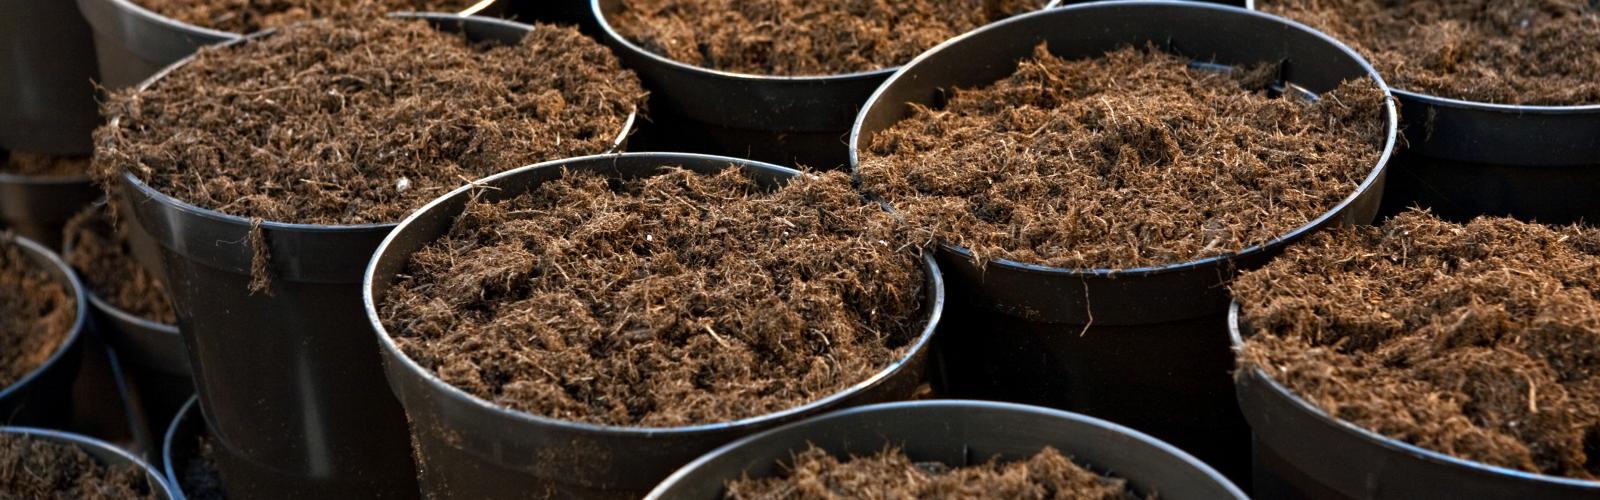
Choose a container for your mix: before you start, you must take into account that you'll need a big container where you can mix all the ingredients easily. Work out how many litres of super soil you need for your grow and choose a container size accordingly.
Step 2
Prepare your base: to make your base substrate it is best to use aerated organic soil which is perfect for root oxygenation. This will accelerate the plant's metabolic processes, which translates into greater and faster growth.
You can use different types of soil for this, but these are the ingredients for our recipe:
- 1 part of soil: buy high-quality soil; don't skimp on this or use soil you've collected from your garden or from the wild. The soil must have a spongy texture and it is vital that it's free from toxic substances.
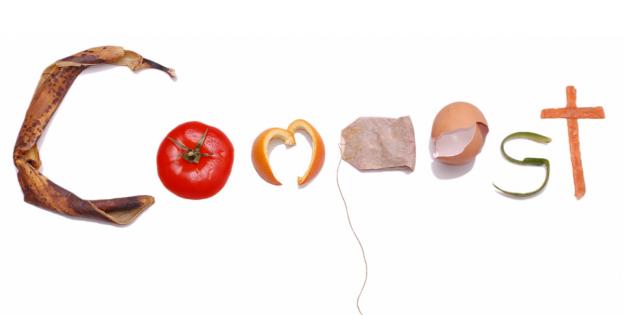
- 1 part of compost: as explained in this other post, you can make your own compost at home in a really simple way.
- 1 part of 50/50 perlite and coco coir mix: this keeps the soil well aerated.
- 1 part of vermiculite
Related post
Organic Cannabis Growing: Everything You Need to Know
Step 3
Create an ecosystem in your substrate: one of the great advantages of super soil is that it contains 'live' microorganisms such as beneficial fungi and bacteria that help plants grow stronger and healthier.
90% of plants benefit from symbiotic relationships with beneficial fungi that live on the ground. This ecosystem is called mycorrhiza. As we explained in another post, the word mycorrhiza refers to this symbiotic relationship: the plants absorb the nutrients more efficiently whilst releasing sugars into the soil (as a result of photosynthesis), which the fungi then feed on.
In order to establish a good population of both beneficial fungi and bacteria in your soil, you need to add the following ingredients to your mix:
- Nitrogen:
- Blood meal: a high-nitrogen organic fertiliser.
- Bat guano: rich in nitrogen and other nutrients that can feed your cannabis plants throughout all stages of growth. It is especially important during the flowering phase. Make sure you don't add more than 5% guano to your substrate as excess may lead to over-fertilisation problems.
- Worm castings: this excellent organic fertiliser produced by certain worm types is a brilliant source of nitrogen. As it has been previously decomposed, it is unlikely that it will burn the roots of your plants. This is why you can add up to 20% worm castings to your total mix.
- These are the ingredients you need to add to your super soil in order to increase phosphorus levels:
- Bone meal: rich in phosphorus and calcium. Its decomposition process is a little slow, so you need to prepare your super soil at least one month in advance before using it on your plants.
- Rock phosphate: as its name suggests, it is a great source of phosphorus.
- Kelp powder: better known as 'kelp meal'. This is a type of brown dehydrated seaweed which is a great source of NPK.
- Other supplementary fertilisers:
- Fish bone meal: it is a kind of flour made from fish bone remains, shells of crustaceans, etc. A great source of amino acids, phosphorus, nitrogen, and calcium. It doesn't take as long to decompose as bone meal, so it can be absorbed by plants in a relatively short time.
- Epsom salts: a fantastic natural way of providing your plants with an extra supply of magnesium and sulphur. Be careful not to exceed the dosage as this could harm the microbial life that you're trying to establish in your substrate.
- Dolomite: this highly pure mineral helps regulate the soil's pH. This is absolutely vital for your cannabis grow as this facilitates humidification and establishes a more appropriate medium for microbial activity.
- Humic acid: it stimulates the plant's enzymes and improves ground structure.
- Azomite: volcanic rock dust used to remineralise soils as it provides minerals and trace elements that boost root development. It is perfect to create that 'life' in the soil. Beneficial microorganisms that create a symbiotic relationship with plants need food to live. They feed mainly on sugars, but they also enjoy other compounds such as trace elements; hence why azomite can be a great ally for this.
- Charcoal: amongst other things, charcoal increases fertility in soils with acidic pH.
- Mycorrhiza: as mentioned above, mycorrhiza are beneficial fungi that create a symbiotic relationship with plants, thus contributing to greater root development.
Step 4
Once you have added all the ingredients to your container, mix them well with the aid of a rake or a similar tool. Your substrate needs to be homogeneously mixed.
Step 5
Cover your container with a canvas and place it on a sunny spot. Air and heat must remain trapped inside the container in order to facilitate the decomposition process.
During this period the mix will undergo three different phases:
- Mesophilic phase: during the first few days, the temperature remains between 10 and 40 degrees Celsius. Heat and CO2 are generated and the pH level decreases.
- Thermophilic phase: the fermentation process makes temperature rise to 60-70 degrees. The substrate becomes pasteurised and the pH level increases.
- Cooling phase: this is the final phase. The plant matter has already transformed and the temperature decreases. The pH level becomes stable and there is a reduction in oxygen demand.
Related post
Compost tea: organic feeding and protection for your cannabis plants
Step 6
Let it rest: super soil needs at least 30 days to go through these three phases of decomposition and curing. This amount of time is vital as the nutrients need 'to get cooked' or otherwise the roots of your cannabis plants will get burnt. Therefore, proper planning is paramount: you must start preparing your super soil at least one month before the outdoor season starts.
Step 7
Stir your mix thoroughly every 5-7 days. Watch out for unwanted plagues or pathogens during the decomposition phase. Another factor to bear in mind is moisture: the substrate must be kept relatively moist (but never soaking wet). If it gets too dry, you can spray it with some water as you stir it. Under any circumstances must your super soil get too dry during the curing since this would stop the decomposition process: microorganisms need a relatively humid medium to be able to do their job.
Preventive measures: How to avoid root burning with your super soil?
Super soil is indeed so rich in nutrients that you won't need to add any extra fertilisers during the whole life cycle of your plants. However, this really high nutrient content makes super soil unsuitable for the first stages of life as roots could get burnt. So it is best to use a more neutral substrate for that period: you can buy high-quality soil in your growshop and plant your seedlings or clones in it until the second or third week of growth. Time depends on root development and type of strain. Some varieties (normally Indica-dominant) are more sensitive to over-fertilisation. Once plants have developed a strong radicular system you can transplant them to bigger pots containing super soil.
If you're growing strains that are particularly susceptible to transplant stress (e.g. autoflowering varieties) you can prevent this by following these guidelines: place your super soil in a large pot (11-20 litres), leaving a 3-litre gap in the middle; fill the gap with neutral substrate (i.e. soil or a lighter mix). This way plants will feed on this softer mix during their first stage of life and, as their roots grow, they'll have access to the super soil.
Watering tips: you'll only need to use water. Adjust the water pH level to 6.0 - 6.3. This is a vital point as the wrong pH can stop your plants from absorbing the nutrients. If you spot deficiency signs on the leaves of your plants when they're in pots with super soil, the first thing you need to do is check the pH level.
Comments from our readers
There are no comments yet. Would you like to be the first?
Leave a comment!Did you like this post?
Your opinion about our seeds is very important to us and can help other users a lot (your email address won't be made public).